Understanding Advance Conditions for Smart Lists and Tags
How to use Advance Conditions for Smart List?
Create New Campaign using the prebuilt templates
Create the content for the Campaign
Click on Send and Schedule, go to the recipient tab

Select the Smart List option:

Advance Conditions are meant to add new contacts linked to Smart List which were created between the time when the campaign was scheduled and the time that the campaign was scheduled to be sent out. For Example, If a Smart List named Marketing has 100 contacts when the email campaign is scheduled for January 30th. And before the scheduled date, 30 more contacts get added to that Smart List: On January 30th, the Smart List named Marketing will now have 130 contacts. So with this advanced condition, it will allow you to add 30 new contacts to the email campaign after it had been scheduled.

How to use Advance Conditions for Tags?
Create New Campaign using the prebuilt templates
Create the content for the Campaign
Click on Send and Schedule, go to the recipient tab

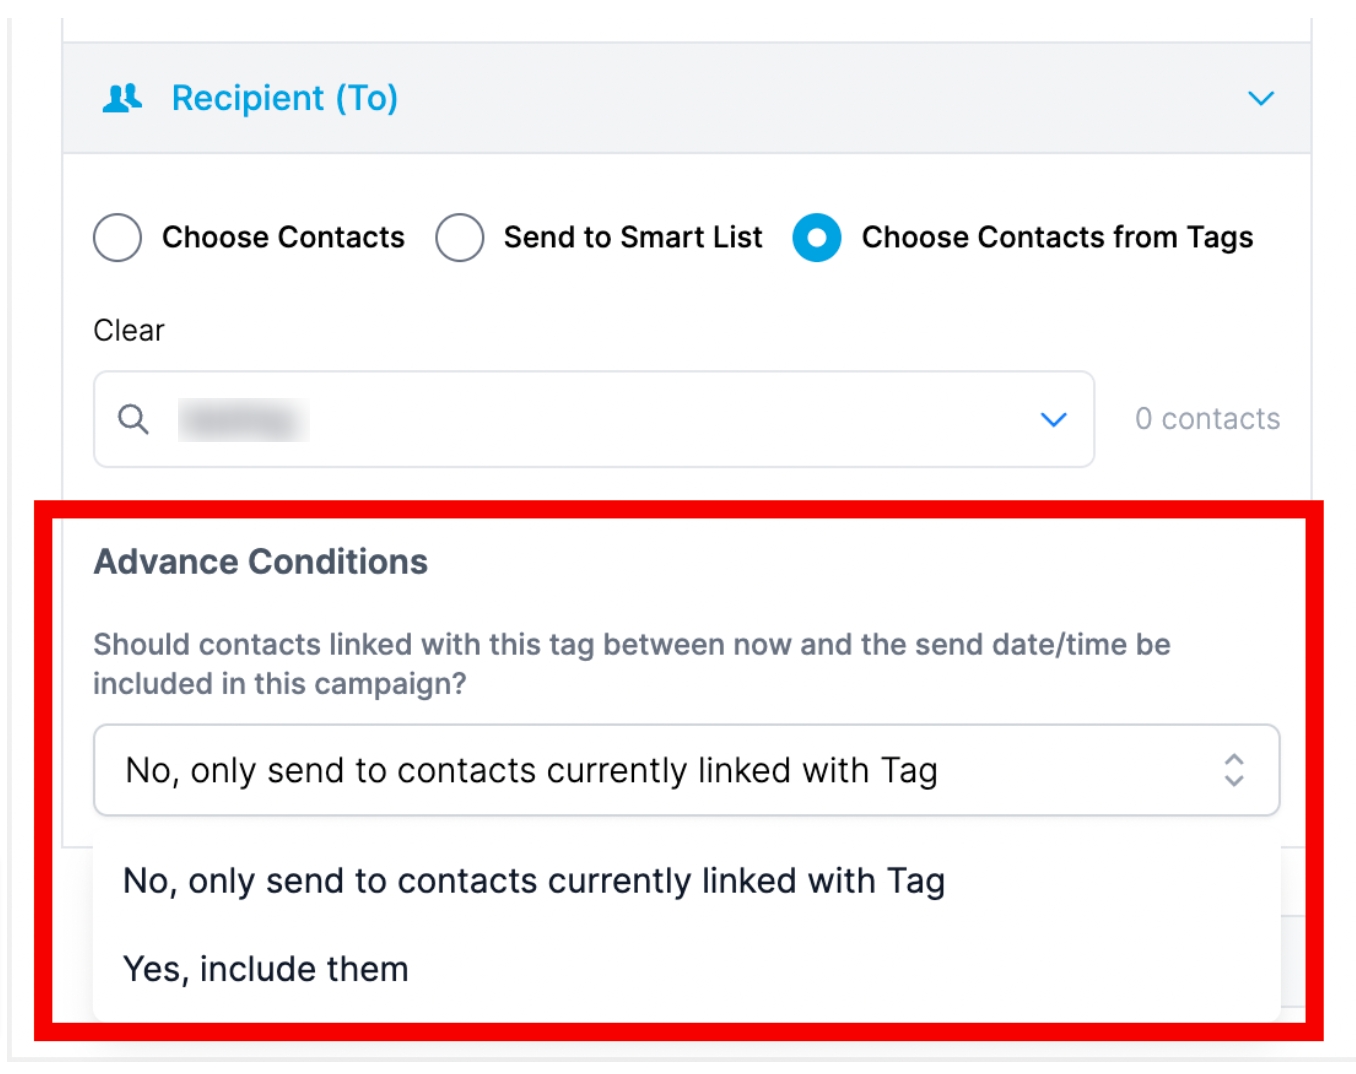
Select the option of Tag

Advance Conditions are meant to add new contacts linked to Tags that were created between send time of the campaign. For Example, If a Tag named Digital is linked to 1000 contacts, when the email campaign is scheduled for January 30th. And during that time, 40 new contacts are given that tag, On January 30th, 1040 contacts linked to the Digital tag will be receiving the Campaign Email. So with the advance tag condition, it will allow you to add 40 new contacts to the email campaign after Scheduling it.

Last updated